For Feedbacks | Enquiries | Questions | Comments - Contact us @ innovationmerge@gmail.com
What?
- Raspberry Pi Foundation recently released tiny, fast and flexible microcontroller board
Raspberry Pi Pico. 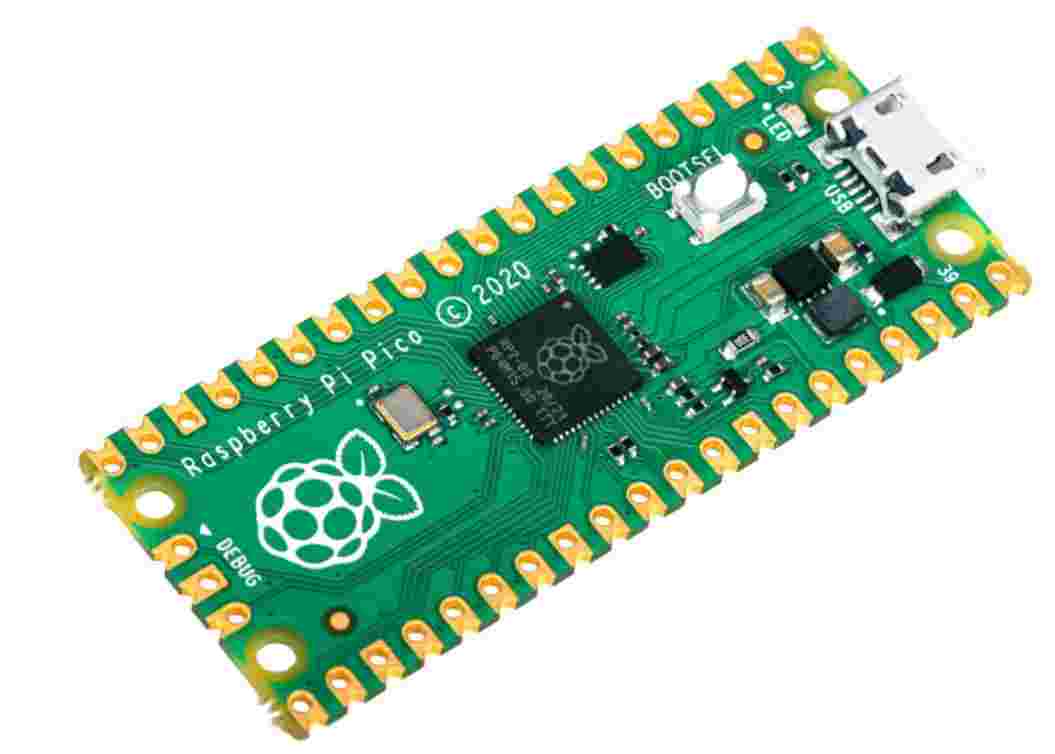
- Raspberry Pi Pico is designed using RP2040 microcontroller which provides below features
- Dual-core Arm Cortex-M0+ @ 133MHz
- 264KB on-chip RAM
- Supports upto 16MB off-chip flash
- GPIO pins with ADC, UARTs, SPI, I2C, PWM
- This article explains how to get started with Raspberry Pi Pico by programming with MicroPython.
Why?
- In the space of IoT, Microcontrollers are playing important role by reading data from sensors, performing required computations so that softwares stores and perform analytics which helps to take business decisions.
- Basically it works as a bridge between hardware and software.
- For these purpose we can use existing Raspberry Pi products such as
Raspberry Pi Zerobut according to the Article, Raspberry Pi Zero consumes power in the order of 100 milliwatts in its lowest power mode and it doesn’t support Analogue input. - RP2040 overcomes these limitations and it is designed by keeping the existing limitations of other microcontrollers. RP2040 provides high performance, flexible I/O and low cost features.
How?
- Raspberry Pi Pico can be powered up by supplying 1.8V to 5.5V input voltage. The power source can be 5V USB ports or minimum two AA cells in series or lithium-ion cell.
- RP2040 has MicroPython Port and USB Flashing Format(UF2) bootloader hence Pico can run Python code uploaded via an IDE such as Thonny.
- Raspberry Pi Pico can be programmable in C and MicroPython and suppots drag and drop of a file to run.
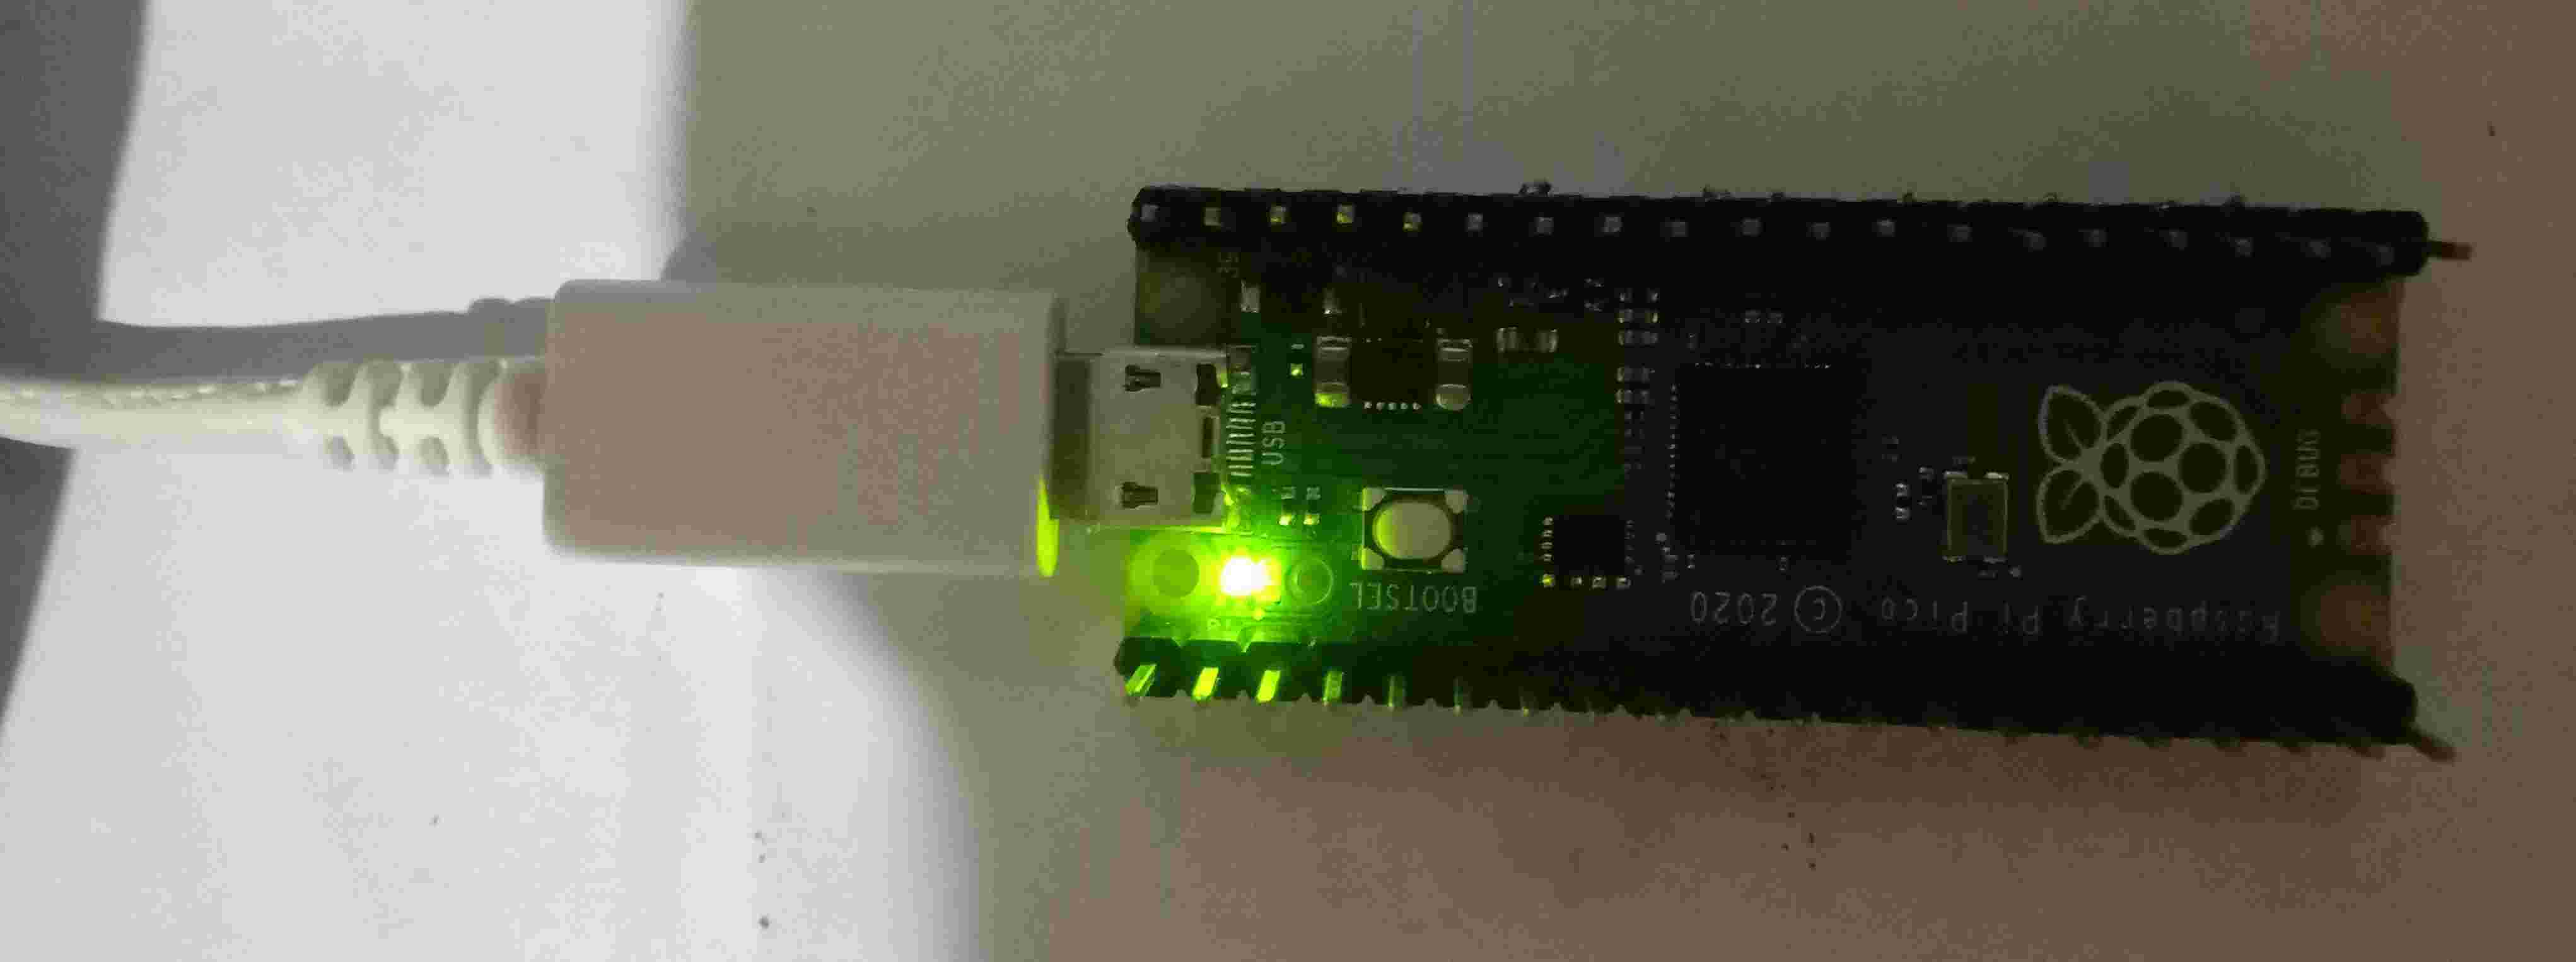
- Pico has a single push button which is used to enter USB mass-storage mode at boot time.
Software’s Required
- Windows 10 OS/Linux
- Raspbery Pi Pico MicroPython Firmware
- Thonny Python IDE
Hardware’s Required
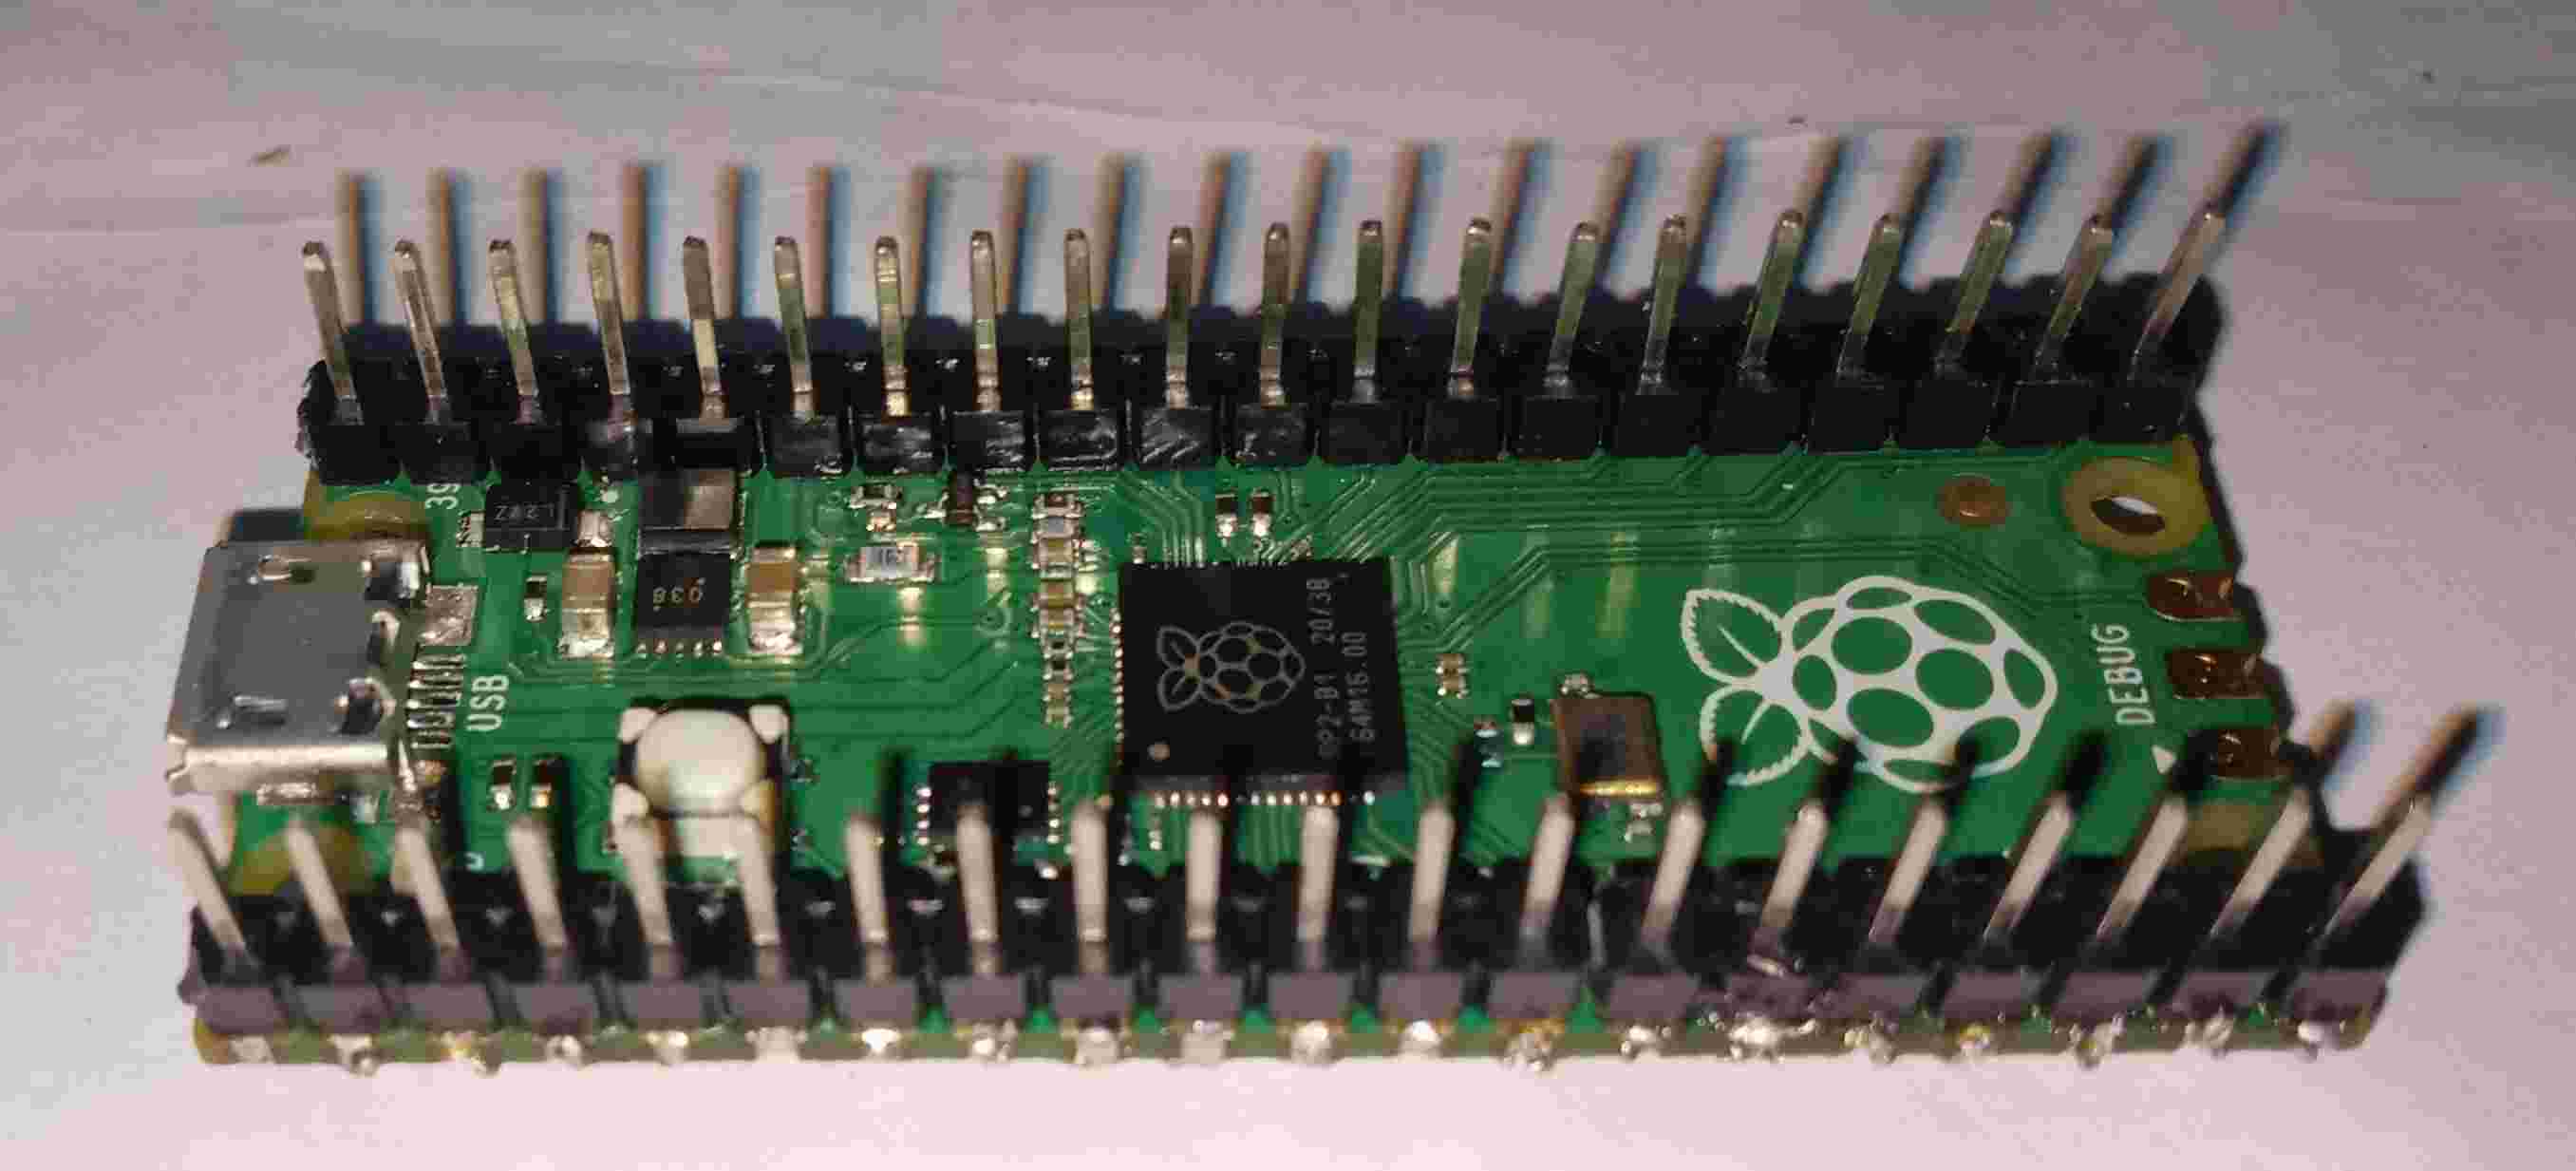
- Raspberry Pi Pico
- Laptop/Desktop/Raspberry Pi 3 model B
- USB cable to connect Pi
Network Requirements
- Internet to download packages
Implementation
Solder headers to the Raspberry Pi Pico
Download Thonny IDE
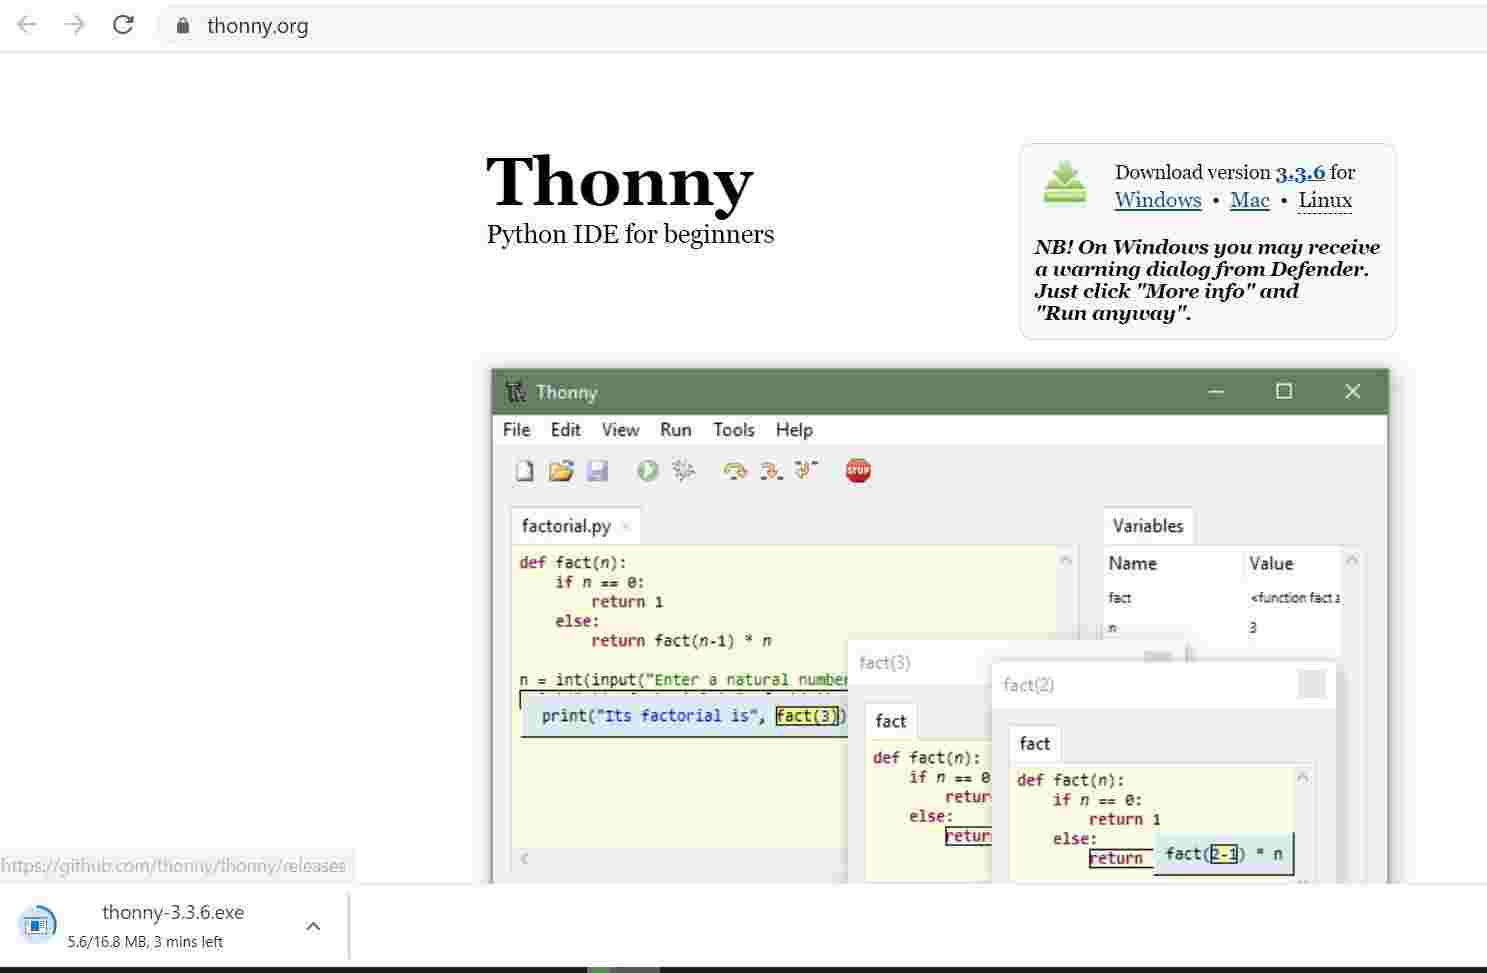
Install Thonny IDE to Laptop (Default available in Raspberry Pi OS )
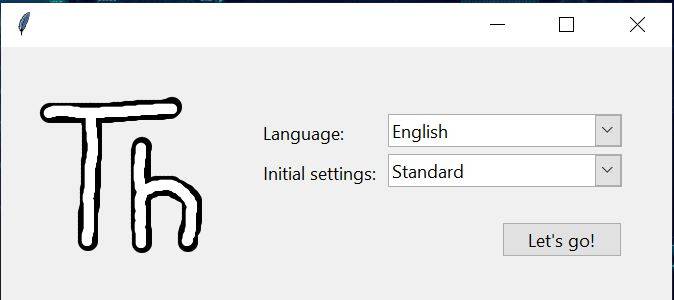
Open Thonny IDE and select language
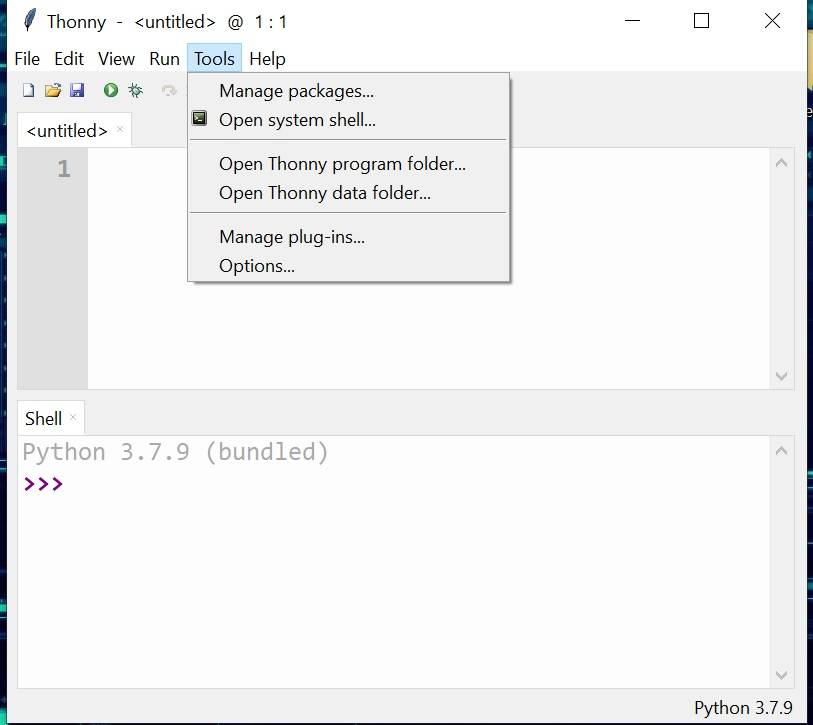
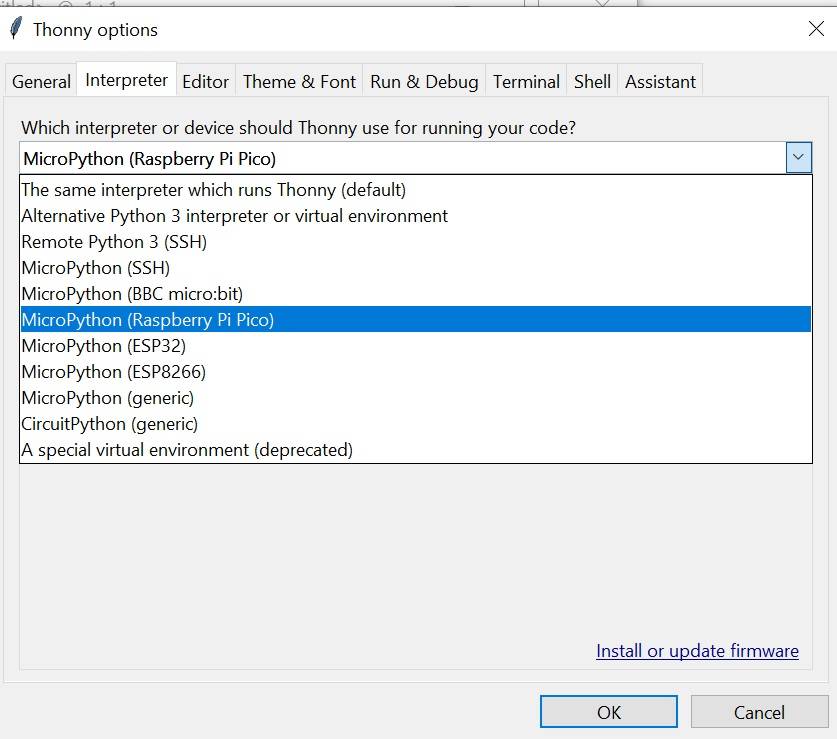
Install micropython firmware. Navigate to Tools -> Options -> Interpreter -> MicroPython(Rasperry Pi Pico)
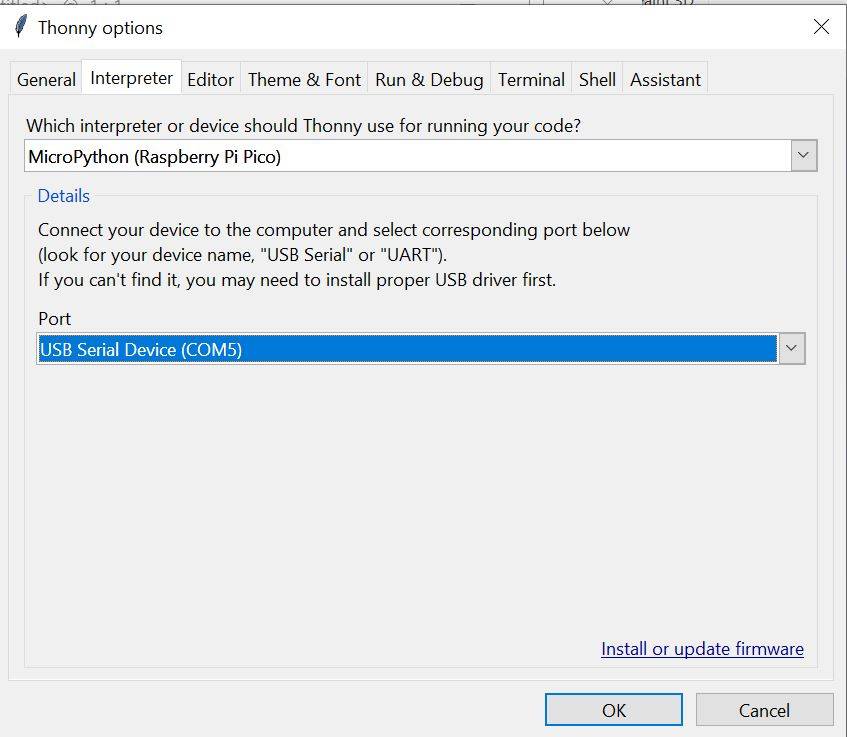
Connect Raspberry Pi Pico to Laptop/Raspberry Pi 3 & Select respective Port
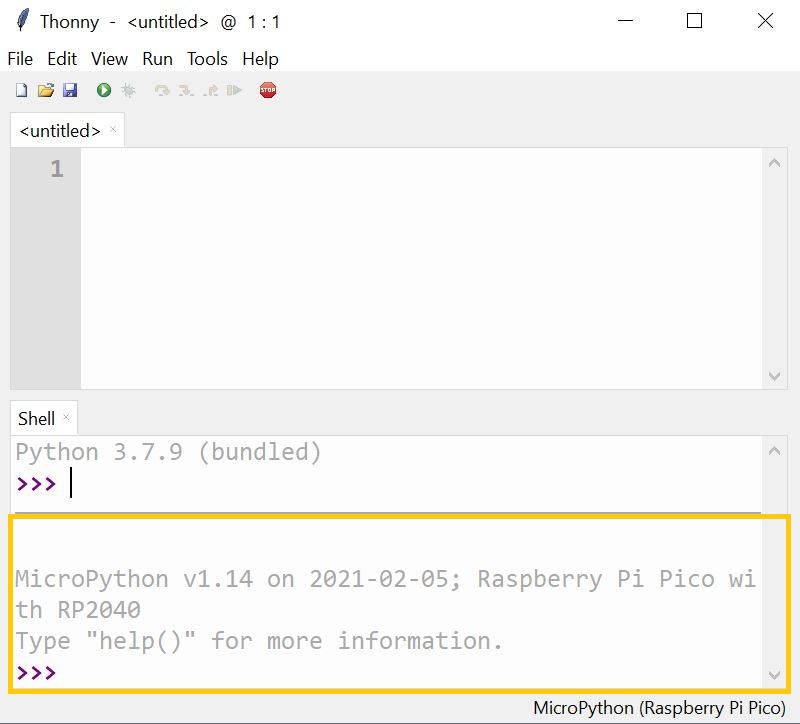
Raspberry Pi Pico will be connected to Thonny IDE via MicroPython
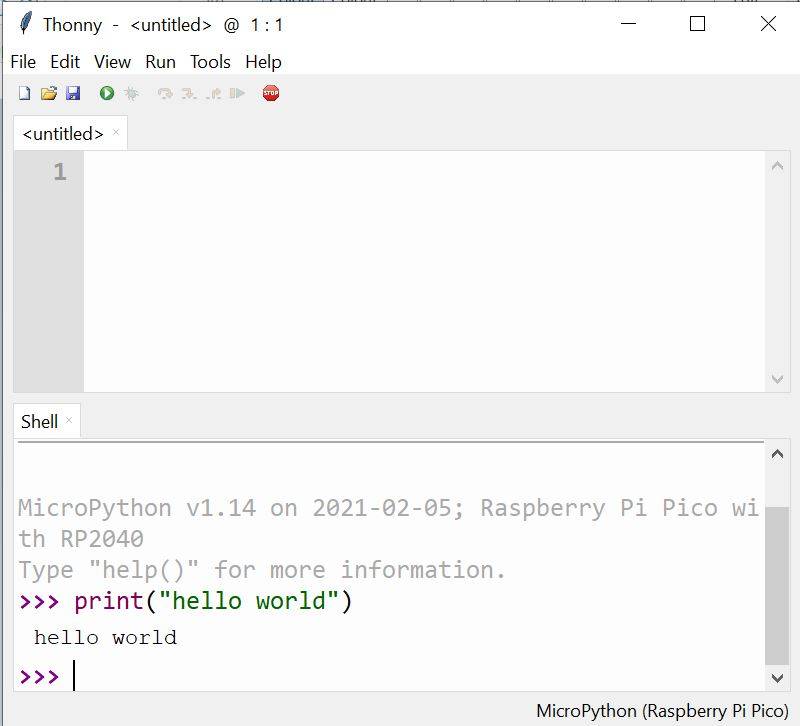
Run print statement on Raspberry Pi Pico
Run Onboard LED Blink code on Raspberry Pi Pico by saving the code to it
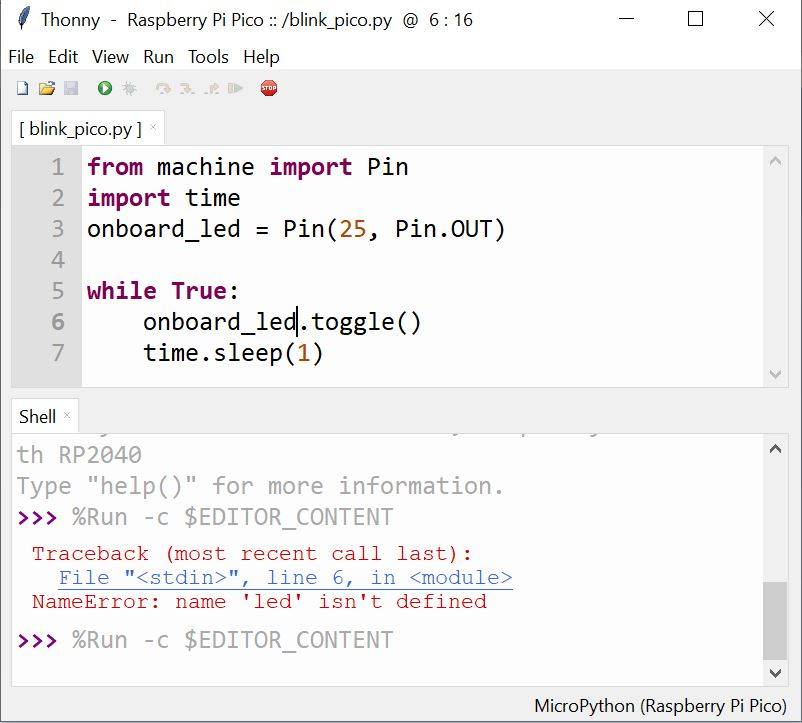
from machine import Pin
import time
onboard_led = Pin(25, Pin.OUT)
while True:
onboard_led.toggle()
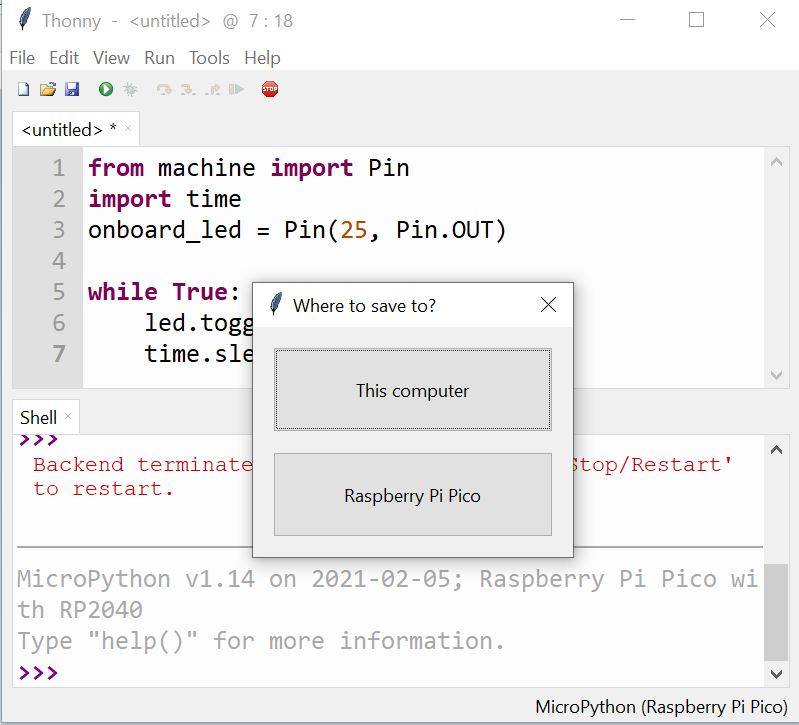
time.sleep(1)Save the script as ‘main.py’ so that Pico will Run it Immediately during Boot
See onboard LED blink in action
Great, iNNovationMerge hope that you have understood how to install Thonny and Run Python script on Raspberry Pi Pico.